
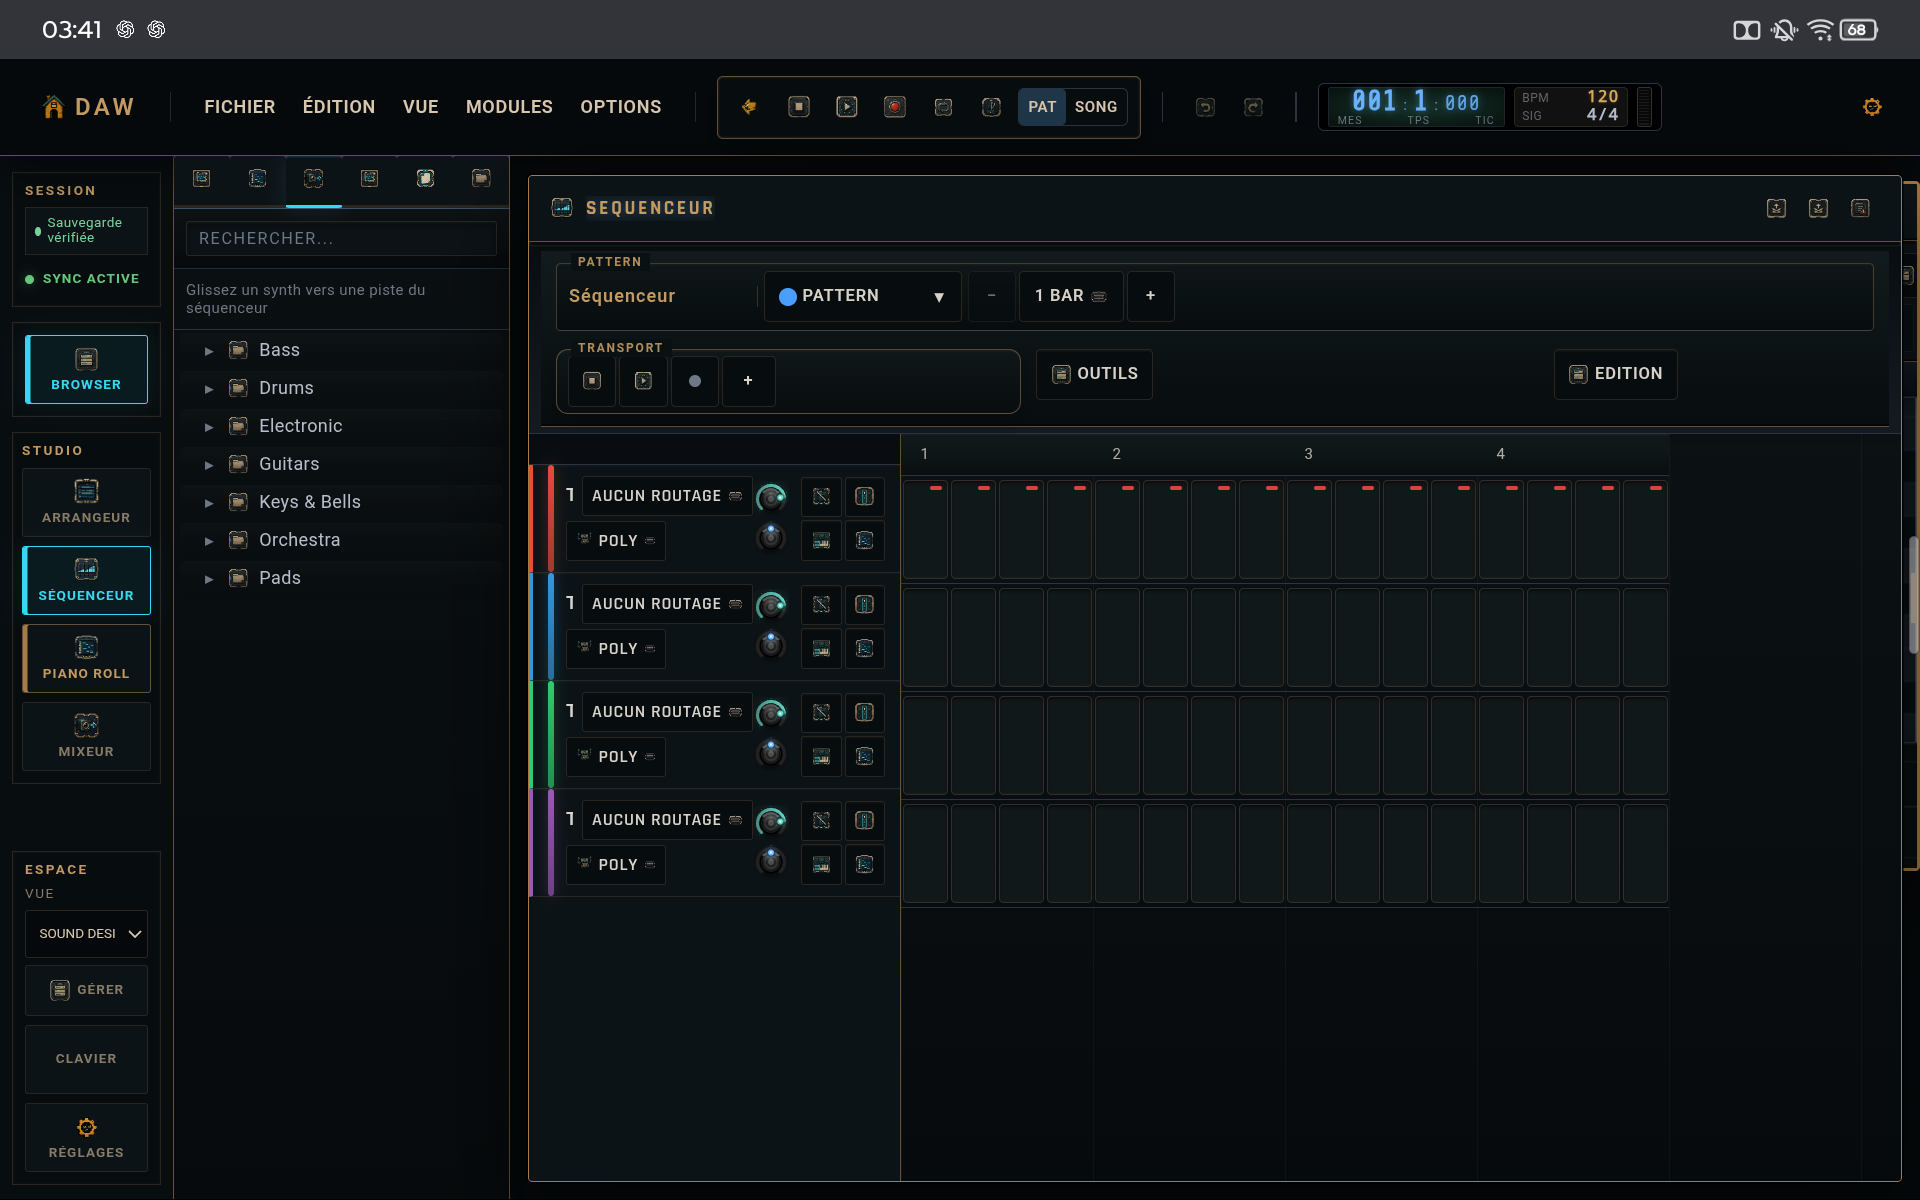
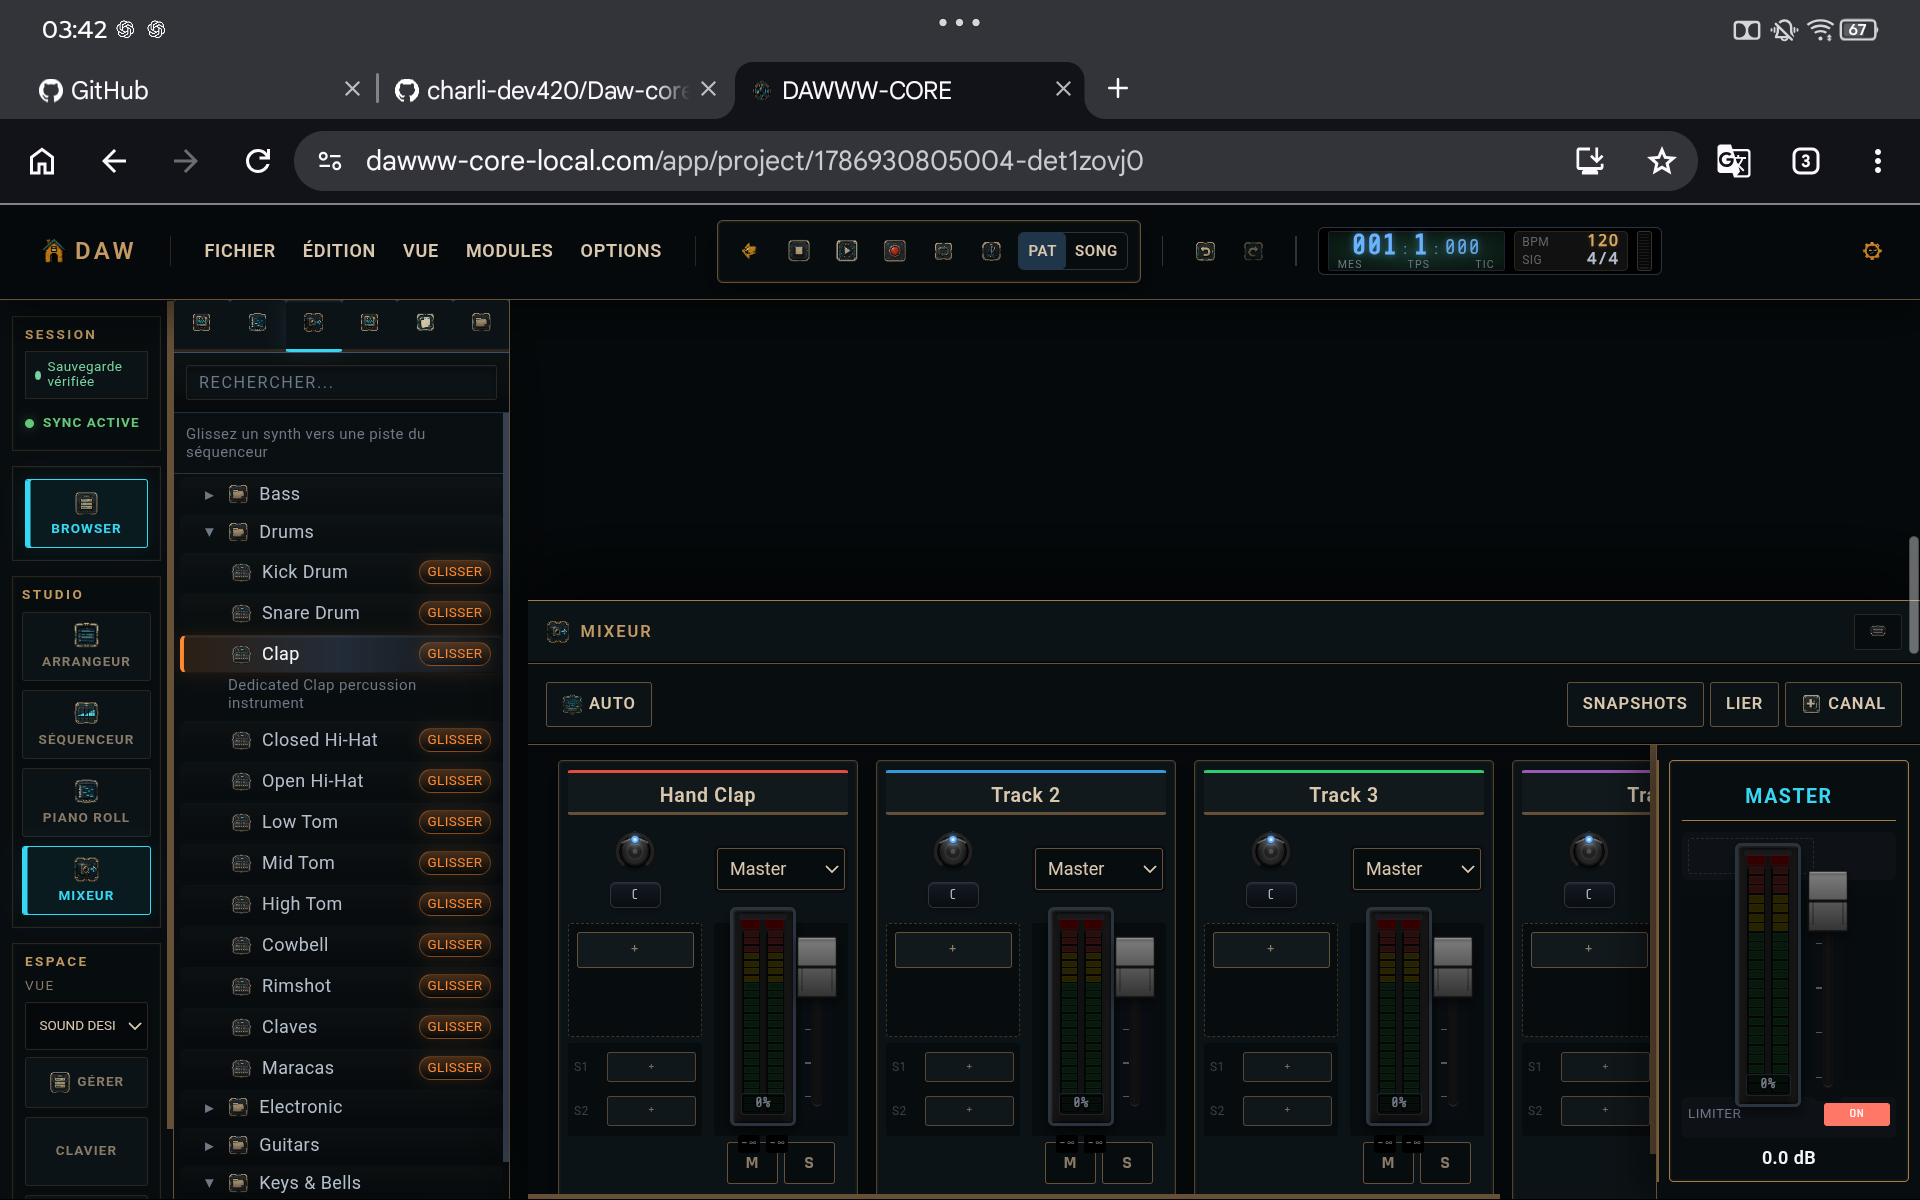
1. Lay down the rhythmic structure
Start with essential events: kick, snare, bass, or the main motif. A readable grid is better than an overloaded pattern. Use the sequencer to establish rhythm and repetition first, then use step editing for nuance.
- Loop a short section.
- Temporarily mute secondary tracks.
- Listen through several repetitions before editing.
2. Use velocity as movement
Velocity is not only about loudness. On many instruments it also changes attack and perceived tone. Alternate accents instead of keeping every value identical.
3. Probability, ratchet, and timing: add motion without clutter
Probability creates variation between loops, ratchet subdivides a trigger, and micro-timing slightly shifts an event. Use these tools on selected steps; applied everywhere, they blur the rhythmic center.
4. Move to the piano roll when step editing is not enough
The step sequencer is ideal for short, repeated triggers. As soon as a line needs precise pitches, overlapping notes, or detailed note lengths, move to the piano roll.
TIPS
Keep these in mind
- Vary velocity before changing timing.
- Use probability on ornaments, not on the groove foundation.
- Duplicate a pattern before making a strong variation.
AVOID
- Using ratchet on too many steps.
- Correcting a groove visually without listening.
- Creating a new track for every small variation instead of reusing patterns.